2.2. To Create A New Deck
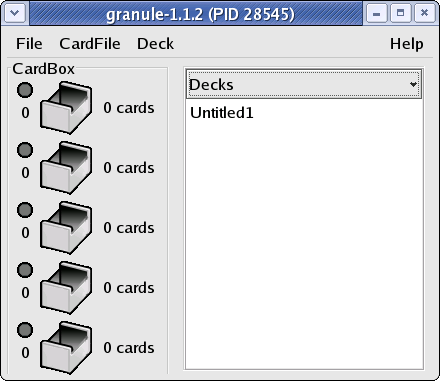
To create a new Deck, choose Deck->New menu item. You will see a new Deck entry, "Untitled1", being added to the "Decks" pane (the DeckList).
2.2.2. DeckPlayer Dialog
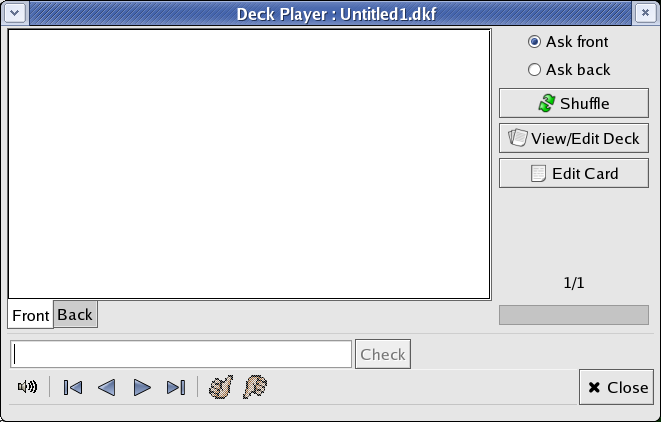
Select "Untitled1" entry and dobule-click on the selection. You are presented with DeckPlayer dialog.
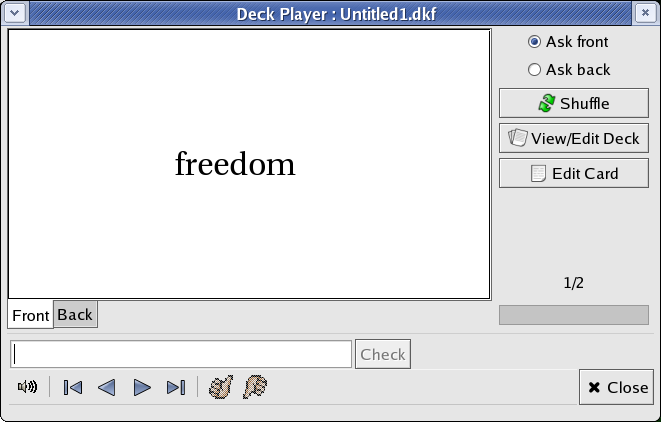
The DeckPlayer Window dialog consists of the following elements:
- Tabbed text area
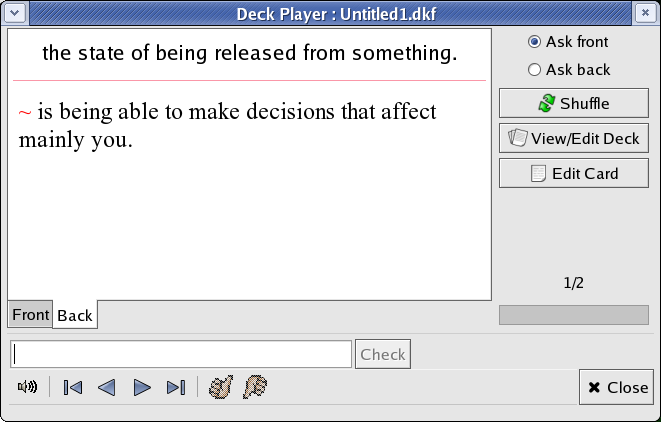
Represents the Front (question) and the Back (answer/example) of an index card.
- Right-hand side control pane
Holds control buttons.
- Bottom control pane
Holds various controls to navigate through the Deck.
- Close button
To close the dialog window.
2.2.3. DeckView Dialog
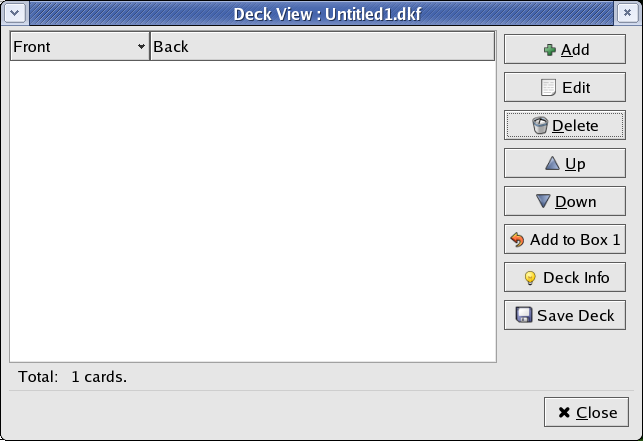
Click on Edit button of the side pane and you will be further presented with an empty DeckView window.
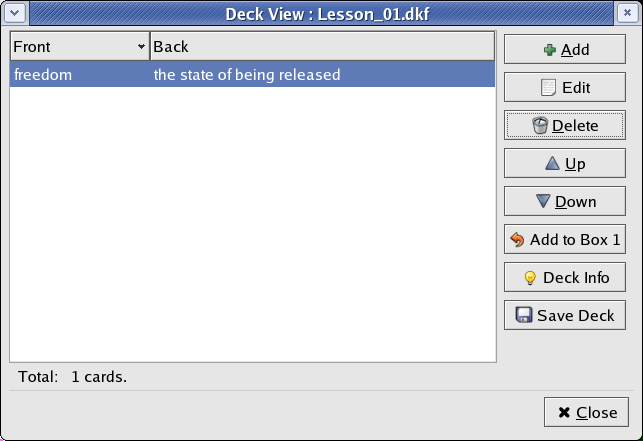
The DeckView Window dialog consists of the following elements:
- Cards View List
Question/Answer pairs of each card in a Deck.
- Control buttons pane
Holds various control buttons to manipulate a Deck.
- Close button
To close the dialog
2.2.4. CardView Dialog
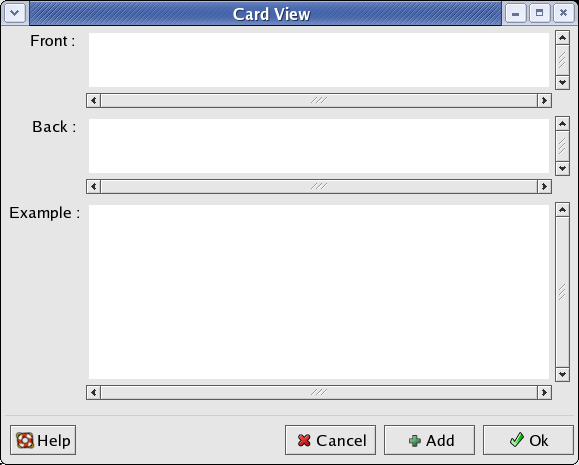
Click on Add button to bring up CardView dialog window.
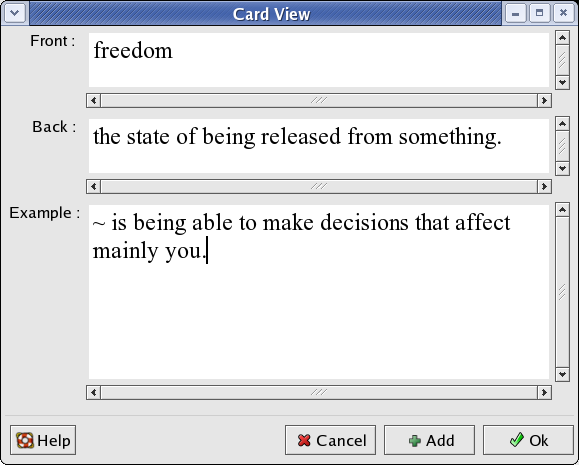
The CardView Window dialog consists of the following elements:
- Front text entry
Holds the question word.
- Back text entry
Holds the answer word.
- Example text entry
Holds an example of usage of the question word.
Enter "freedom" in the Front: field, "the state of being released from something.", in the Back: field, and "~ is being able to make decisions that affect mainly you." in the Example: field.
The tilda ('~') symbol if present in the Example: field is always painted in red color. You can also use Pango Text Attribute Markup Language anywhere in the text entry fields to modify text appearance. Click on Help to consult the Pango markup reference guide.
Note that Front: and Back: text entry fields have vertical scroll bars. You can insert multi-line text there and it will be centered and left-aligned.
Click on Ok button to create and add a new index card to your card deck. The DeckView dialog lists your newly created card.
2.2.5. To View The Changes
You can continue adding more new cards in a similar manner. When you are finished, click on Close button of the DeckView dialog window.
2.2.6. To Study Cards In A Deck
DeckPlayer dialog now shows the front of the first index card in the Deck.
You can flip the card by clicking on either "Front" or "Back" tab at the bottom of the text area.
The answer validation entry lets you enter your answer and check it against the back side of the card. Only the first line of the multiline answer is compared to the one entered. All leading and trailing whitespaces as well as any Pango markups are removed before the comparison is made.
To check your answer either press Check button, or Enter key. The visual feedback will indicate the correctness of your answer.
The navigatonal control buttons at the bottom pane let you (from left to right):
Pronounce the Question word (if you have sound dictionary installed).
Jump back to the first index card.
Go back to the last index card.
Go to the next card.
Jump forward to the last index card.
In this mode, DeckPlayer's play controls also have the following keyboard bindings:
Table 2-1. DeckPlayer's Play Mode Keyboard Bindings
| Action | Key(s) |
|---|---|
| Play the sound | Up_Arrow |
| Flip the card | Down_Arrow, Spacebar |
| Go back to the last card | Left_Arrow |
| Go to the next card | Right_Arrow, Enter |
| Validate the answer (activated when you type anything in the validation entry field). | Check, Enter |
The Ask front/back radio button lets you select whether you are tested on the questions or the answers of the cards in a Deck.
 | Granule remembers which side you were studying the last time the Deck was opened, and if you have gone through all the cards, it would flip the deck for you next time you load it up. |
The Shuffle button lets you shuffle the cards in the Deck. Clicking it will change the order of the cards for the duration of the learning session. The actual order of cards is not changed. If you want to change the actual order, use Up and Down buttons of the DeckViewer dialog.
When you are done with playing the Deck, click on Close button of the DeckPlayer dialog window.
